Rust-Oleum Projects
3D Printed Planter
Browse Projects
-
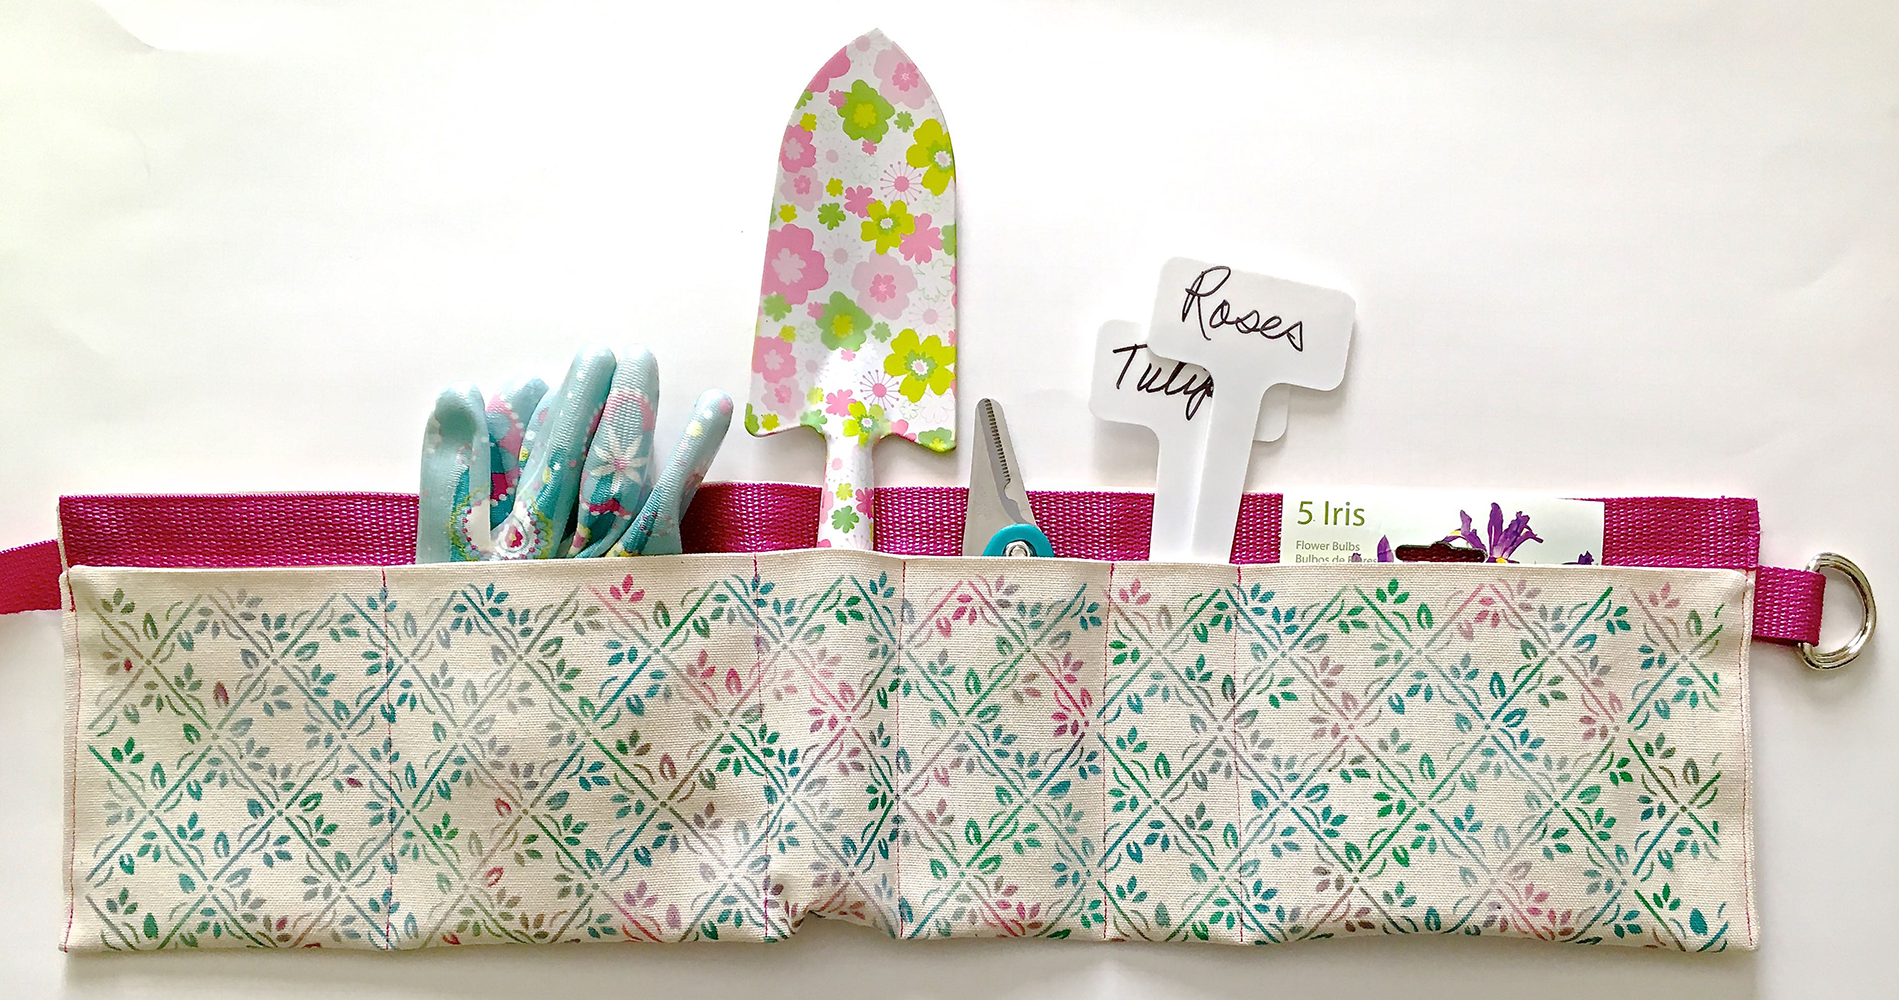
Airbrushed Garden Tool Tote
-
Tools & Supplies:
-
3D Printer
-
White PLA Filament
-
Gloves
-
Rag
-
Masking Tape
-
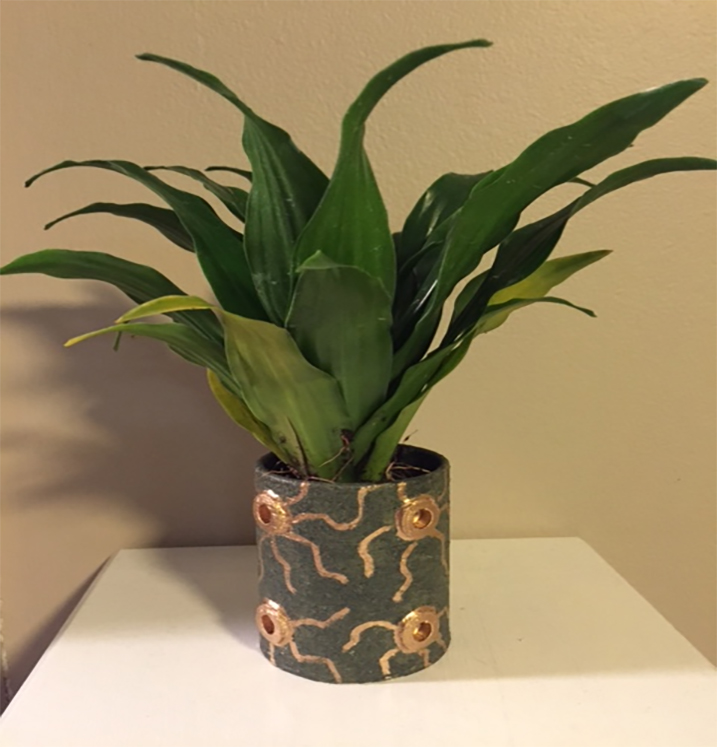
- Print 3D planter by following instructions for 3D printer. White PLA filament was used.
- Prep 3D print by cleaning it. Wear gloves to prevent oils from fingers or fingerprints.
- Spray planter with primer. Allow to dry per product instructions.
- Use marking tape or masking tape to cover circular features on planter
- Spray entire planter with CreateFX Moss Green Texture Paint. Allow to dry per product directions. Once dry, apply a second coat of texture paint. Allow to dry.
- Remove tape from circular features of planter.
- Paint entire planter with CreateFX Mud Weathering Enamel Paint Marker to create desired effect. Before dry, use rag to lightly wipe planter to create aged effect. Allow to dry. TIP: Use cloth with thinner for additional flexibility and time.
- Use Testors Enamel Paint Marker in Gold to paint circular features and add designs.
- Finish with CreateFX Dullcote.